


Experienced songwriters usually write and produce quality music with speed and efficiency; I certainly haven’t reached that level yet. While messy and filled with trial and error, I do have a process.
When I first started to compose, I thought I needed professional gear, years of theory, studios, producers — but, in reality, a laptop and some cheap wired earphones did the job.
I. Start with the chords
Chord progressions form the skeleton of every piece, but you don’t even need a lot of them. Three or four often suffice. I usually strum some progressions on my guitar and find some that click. Our goal is to find the easiest way to make music, so use the voicings of your favorite tracks. It’s merely imitation — not theft.
Chords shouldn’t fall under copyright anyway, as they combine notes passed down for centuries. No one can ever own a chord progression. Ever.
Composition builds on familiarity and repetition: the reason music sounds and feels good when you play it. The emotions and feel of the song aren’t in the chords themselves, but in the way you use them.
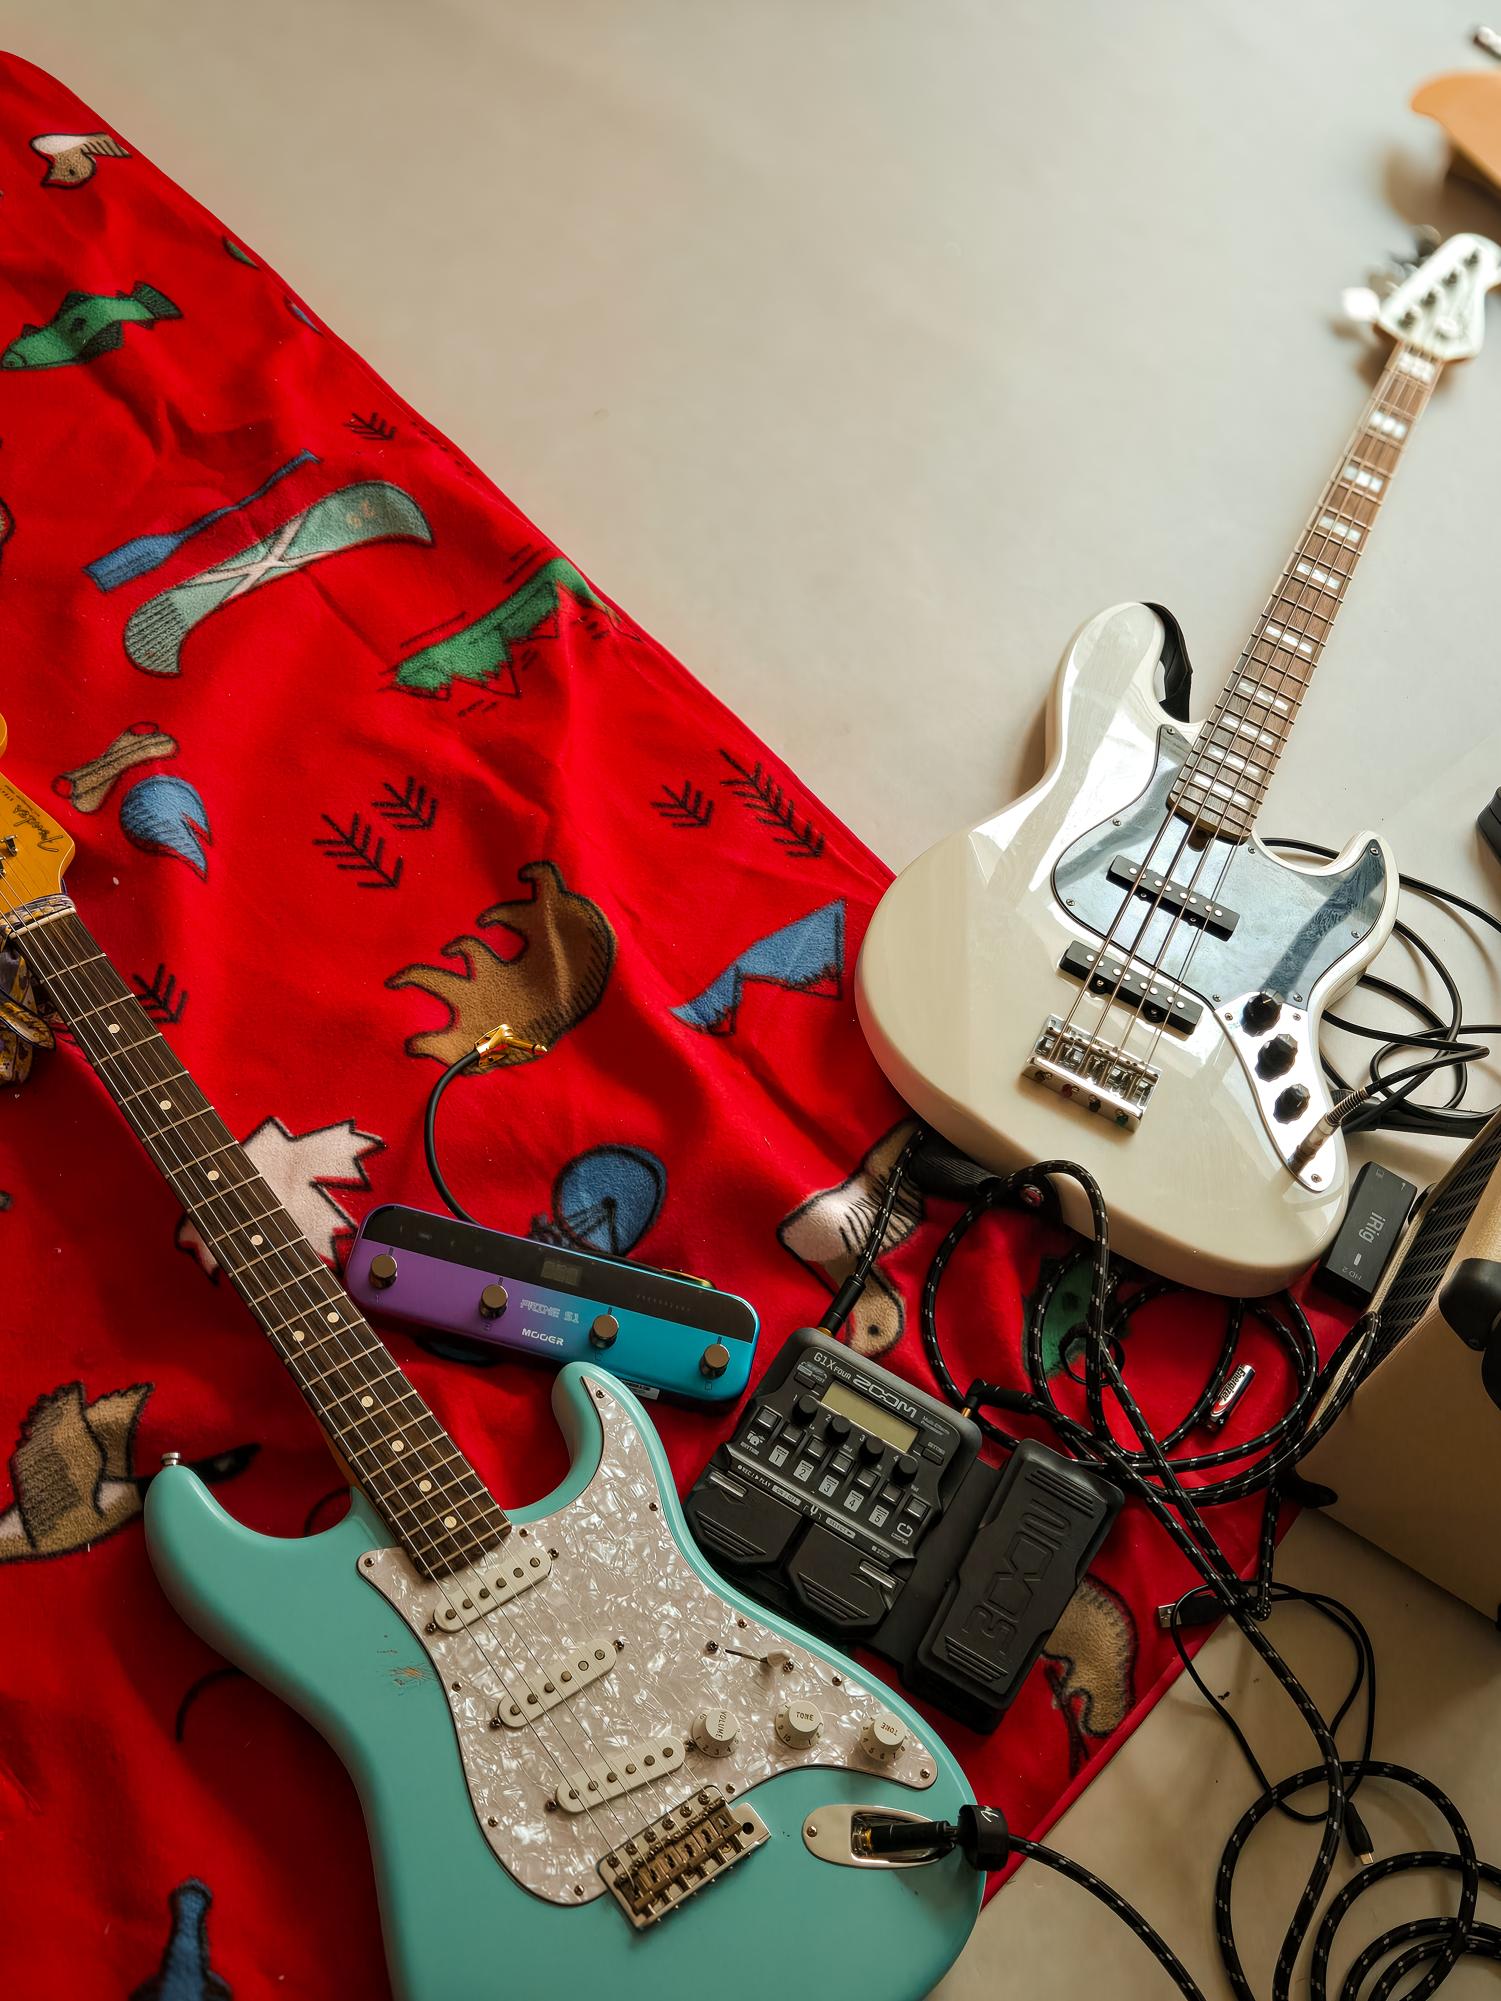
The fun begins when you plug in the finished chord progression into your DAW (Digital Audio Workstation). Musicians layer tracks, arrange instruments, record, edit, and produce audio all in the DAW. Popular interfaces like FL Studio, Ableton, and my personal favorite, Logic Pro, let you record live instruments, program virtual ones, and mix everything together into a polished song.
II. Build your track
A DI (direct input) box lets me plug my guitar or other instruments straight into my DAW so it picks up a clean sound. Every instrument records on its own “stem:” a separate audio track for that specific sound — like vocals, drums, or guitar. During mixing, you can adjust each stem’s volume, tone, and effects independently to create a balanced final track.
With MIDI (Musical Instrument Digital Interface), I cheat. I don’t own a drumset I can DI into, so I draw in my beats manually. With the ‘quantize’ function available on most DAWs, you can turn an off-beat catastrophe into the straightest eighths in the world. This function snaps all the notes into the closest 8th or 16th beat, putting them perfectly in pocket (a term used to describe how in-tempo a session is). Indie artists such as myself have many uses for MIDI: drums, bass, synthesizers, and organs.
III. The rhythm section
Rhythm gives music life — though not necessary for a great track, a simple beat can completely change how a tune sounds and feels.
With MIDI, I usually start with a drum loop or an easy kick and snare pattern that sets the BPM (beats per minute) and pulse of the song. Then, I write a bassline that follows the harmonies. It doesn’t have to be complex — often, one note per chord conveys more than a complex line. Go for the root notes (the fundamental note of the chord, usually the lowest) of the different chords. Producers call these two factors combined DnB (Drum and bass).
IV. The melody
Melodies never come to life perfectly formed. Rather, they start as small fragments. At this point in the process, I listen to my rhythm section and chords over and over again — in the bathroom, in my room, even in my sleep. I record small ideas into my phone, no matter how silly they sound. Later, when I’m stuck, I listen back and find one tiny spark that can grow into greatness.
If you can hum a melody twice and still like it, it’s strong enough to build on.
V. Lyric creation
Lyrics mark the point where the song starts to take shape — at this point, ask yourself: what is the purpose of the track?
Every song needs direction; you shouldn’t create a track without knowing what emotion, message, or story you want to tell your audience.
VI. Mixing
The mix brings every element together — but challenges you more than any other part.
I begin with volume balance so that no single element dominates over the rest. You must add minor volume tweaks so that vocals sit on top of the mix un-reverb-drenched, and guitars complement rather than clash with the drums.
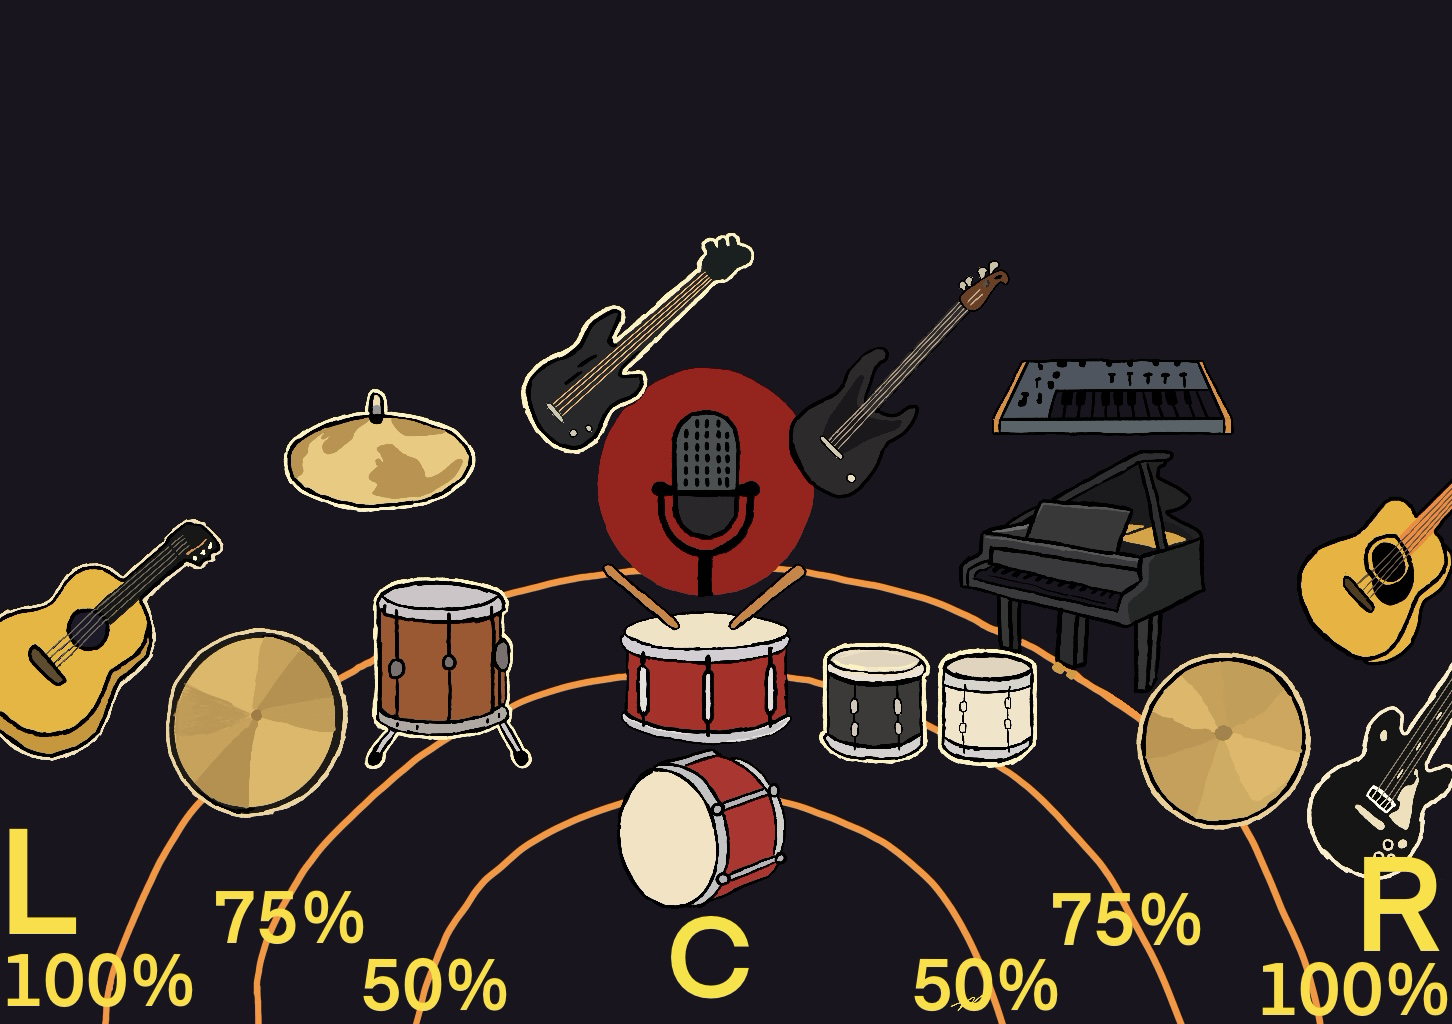
Once the levels (volume) feel right, next comes the pan. Think of the stereo field as a stage.
EQ (Equalization) changes and sculpts different frequencies. Carve away parts of the song that serve no purpose. For instance, I may cut low-end frequencies on guitars so the bass and kick drum can take up that space. It’s an act of balance — precise subtraction and addition of frequencies so the important bits can shine.
VII. Mastering
The master serves as the final polish to boost sound quality on cheap earbuds and speakers alike. I once thought of this process as a professional-only step that required heavy musical knowledge. In reality, it only involves small additions like compression (which squashes down the audio levels so it stays consistent), limiting (essentially just what it sounds like), and a careful volume balance across all your tracks.
Usually at this stage, an outside perspective comes in — fresh ears can hear what mine can’t after hours and hours of the same chords.
Song creation isn’t always glamorous. It takes long hours of endless revision, but through that process, I’ve learned that music doesn’t come from instant inspiration, but rather from persistence. Every loop and late-night edit adds up to a result no one can copy — a truly personal creation.
My workflow might be messy, but it proves that anyone can make music without expensive gear or formal instruction. All you need is creativity and the will to continue and experiment until it sounds right.